
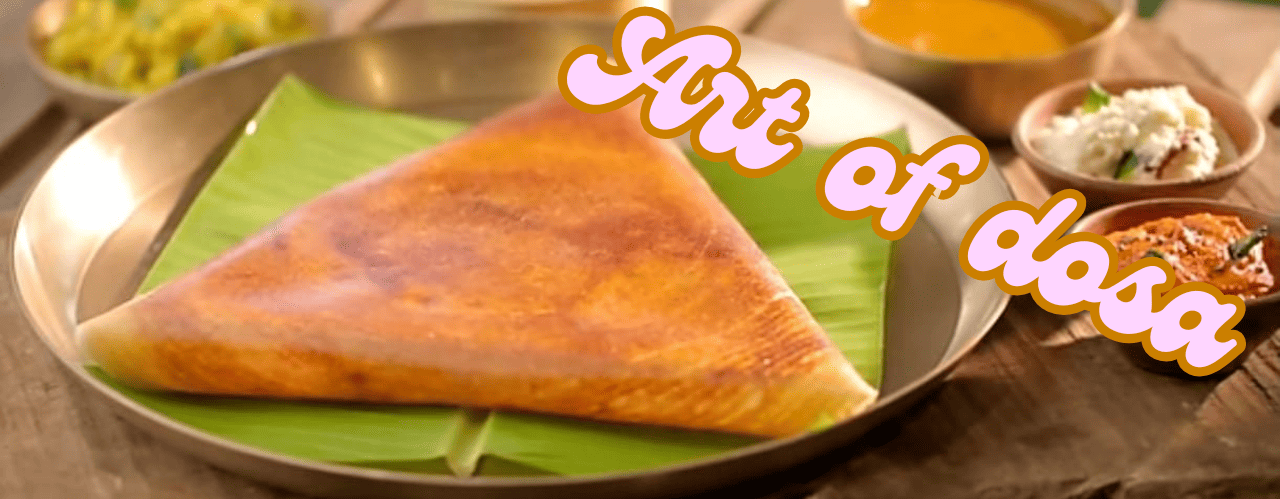
Crispy, Delicious, and Nutritious
Master in the art of dosa is very easy , if we will follow making steps. When it comes to South Indian cuisine, dosa stands out as a timeless favorite. This versatile dish is a staple not just in South India but across the entire country, loved for its crisp texture and comforting taste. Among the many variations, the classic Rice and Urad Dal Dosa holds a special place for its simplicity and authenticity.
Whether you’re planning a hearty breakfast, a light dinner, or an anytime snack, this crispy & irresistible dosa recipe can be your go-to recipe. In this blog, I’ll guide you through the step-by-step process of making perfect Rice and Urad Dal Dosa at home. You’ll also learn tips for achieving restaurant-like crispiness and flavor.
Why You’ll Love This Recipe
The Rice and Urad Dal Dosa is not just delicious; it’s also packed with nutrients. Rice provides carbohydrates for energy, while urad dal (black gram) is an excellent source of protein and dietary fiber. Together, they form a wholesome, balanced dish that’s easy to digest and keeps you full for hours.
The best part? You only need a few basic ingredients and some patience to create this masterpiece at home.
Ingredients
For the Dosa Batter:
- 2 cups raw rice (regular or dosa rice)
- 1 cup split urad dal (without skin) ( gota urad is best for making dosa )
- 1/2 cup cooked rice
- 1 teaspoon fenugreek seeds (methi)
- 2 teaspoon Salt
- Water, as needed
For Cooking the Dosa:
- Oil or ghee, as needed
Step-by-Step Recipe
Step 1: Soak the Ingredients
- Wash the rice and urad dal thoroughly in water until the water runs clear. This helps remove excess starch.
- In separate bowls, soak the rice and urad dal. Add the fenugreek seeds to the urad dal while soaking.
- Let them soak for at least 6–8 hours or overnight. This step is crucial for a smooth and airy batter.
Step 2: Grind the Batter
- Drain the soaked rice and urad dal. Reserve the soaking water, as you may need it while grinding.
- Using a wet grinder or a high-powered blender, first grind the urad dal and fenugreek seeds into a smooth, fluffy batter. Add water gradually to achieve the right consistency.
- Next, grind the rice into a slightly coarse batter. The texture should feel like fine semolina.
- Mix both batters together in a large bowl. Add salt and mix well using your hand (this helps in fermentation).
Step 3: Ferment the Batter
- Cover the batter with a lid, ensuring there’s enough space for it to rise.
- Allow the batter to ferment for 8–12 hours, depending on the weather. In warm climates, it ferments faster, while in cooler conditions, it may take longer.
- Once fermented, the batter should double in volume and have a slightly sour aroma. Stir it gently before using.
Step 4: Make the Dosa
- Heat a cast-iron tawa or a non-stick pan over medium heat. Ensure the tawa is hot before pouring the batter. To check, sprinkle a few drops of water on the surface—if it sizzles and evaporates, the tawa is ready.
- Lightly grease the tawa with a few drops of oil or ghee. Use a kitchen towel or onion half to spread it evenly.
- Pour a ladleful of batter in the center of the tawa and spread it out in a circular motion using the back of the ladle. Aim for a thin, even layer.
- Drizzle a few drops of oil or ghee around the edges and let the dosa cook for 2–3 minutes or until the edges lift easily.
- For a crispy dosa, cook it on one side only. If you prefer a softer dosa, flip it and cook the other side for 30 seconds. we do not have to flip again and again.
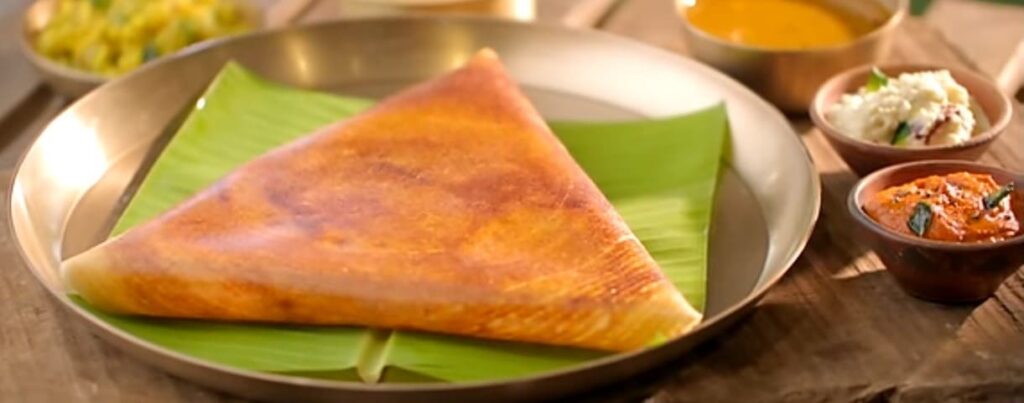
- Remove the dosa and serve immediately. Repeat the process with the remaining batter.
Serving Suggestions
Rice and Urad Dal Dosa tastes best when served hot with:
- Coconut chutney
- Tomato chutney
- Sambar
- Gunpowder (podi) with ghee
For a unique twist, you can also stuff the dosa with spicy potato filling to make Masala Dosa.
Tips for the Perfect Dosa
- Consistency of Batter: The batter should be pourable but not too runny. Adjust with water if needed.
- Fermentation is Key: Ensure the batter ferments properly to get soft and crispy dosas. In cold weather, keep the batter near a warm appliance or add a pinch of baking soda.
- Proper Heat: Maintain consistent heat on the tawa. If it gets too hot, sprinkle water to cool it down slightly before pouring the next dosa.
- Non-Stick Surface: Season a cast-iron tawa properly before using to prevent sticking.
Why Rice and Urad Dal Dosa is a Healthy Choice
- Rich in Protein: Urad dal adds a generous dose of plant-based protein.
- Easily Digestible: The fermentation process breaks down complex nutrients, making them easier to digest.
- Low in Fat: Using minimal oil makes it a light and healthy option.
- Gluten-Free: Perfect for those with gluten intolerance.
Conclusion
Making Dosa at home might seem daunting at first, but once you get the hang of it, it becomes second nature. The aroma of freshly made dosa and the satisfaction of creating it from scratch is truly rewarding.
So, roll up your sleeves, follow this recipe, and enjoy the joy of making crispy & irresistible dosa recipe golden dosas in your own kitchen. Don’t forget to share your dosa-making adventures in the comments below—I’d love to hear about your experiences and any twists you added to the recipe!
Happy cooking!
डोसा बनाने की कला में महारत: हर घर के लिए आसान और स्वादिष्ट रेसिपीज़
करारा, स्वादिष्ट और पौष्टिक
डोसा बनाने की कला में महारत हासिल करना बहुत आसान है, अगर हम बनाने के चरणों का पालन करें। जब दक्षिण भारतीय खाने की बात आती है, तो डोसा एक ऐसा व्यंजन है जो हर किसी का पसंदीदा होता है। यह बहुमुखी डिश न केवल दक्षिण भारत में, बल्कि पूरे देश में अपनी कुरकुरी बनावट और आरामदायक स्वाद के लिए प्रसिद्ध है। डोसे की कई वैरायटीज़ में से, क्लासिक चावल और उड़द दाल डोसा अपनी सादगी और प्रामाणिकता के लिए खास जगह रखता है।
चाहे आप पौष्टिक नाश्ते की योजना बना रहे हों, हल्का डिनर चाहते हों, या कभी भी खाने के लिए स्नैक ढूंढ रहे हों, यह डोसा आपकी पसंद बन सकता है। इस ब्लॉग में, मैं आपको घर पर सही चावल और उड़द दाल डोसा बनाने की चरण-दर-चरण प्रक्रिया बताऊंगी। साथ ही, आपको होटल जैसा कुरकुरापन और स्वाद पाने के कुछ टिप्स भी मिलेंगे।
इस रेसिपी को क्यों पसंद करेंगे?
चावल और उड़द दाल डोसा न केवल स्वादिष्ट है, बल्कि पोषण से भी भरपूर है। चावल ऊर्जा के लिए कार्बोहाइड्रेट प्रदान करता है, जबकि उड़द दाल (काली मटकी) प्रोटीन और फाइबर का बेहतरीन स्रोत है। साथ में, ये एक संपूर्ण और संतुलित व्यंजन बनाते हैं, जिसे पचाना भी आसान है और जो लंबे समय तक पेट भरा महसूस कराता है।
सबसे अच्छी बात? इसे बनाने के लिए आपको केवल कुछ साधारण सामग्री और थोड़ा धैर्य चाहिए।
सामग्री
डोसा बैटर के लिए:
- 2 कप कच्चा चावल (साधारण या डोसा चावल)
- 1 कप छिलके वाली उड़द दाल (गोटा उड़द डोसा के लिए सबसे अच्छा है)
- 1/2 कप पका हुआ चावल
- 1 छोटा चम्मच मेथी दाने
- 2 छोटे चम्मच नमक
- ज़रूरत के अनुसार पानी
डोसा बनाने के लिए:
- तेल या घी, ज़रूरत के अनुसार
स्टेप-बाय-स्टेप रेसिपी
स्टेप 1: सामग्री भिगोना
- चावल और उड़द दाल को अच्छी तरह से धो लें, जब तक कि पानी साफ न हो जाए। यह अतिरिक्त स्टार्च को हटाने में मदद करता है।
- अलग-अलग बर्तनों में चावल और उड़द दाल को भिगोएं। उड़द दाल के साथ मेथी दाने डाल दें।
- इन्हें कम से कम 6–8 घंटे या रात भर के लिए भिगोने दें। यह चरण चिकना और हल्का बैटर बनाने के लिए बहुत महत्वपूर्ण है।
स्टेप 2: बैटर पीसना
- भिगोए हुए चावल और उड़द दाल को छान लें। भिगोने का पानी फेंकें नहीं; इसे पीसने के दौरान इस्तेमाल किया जा सकता है।
- एक वेट ग्राइंडर या हाई-पावर ब्लेंडर का उपयोग करके, पहले उड़द दाल और मेथी दानों को चिकने और फूले हुए बैटर में पीस लें। सही स्थिरता पाने के लिए धीरे-धीरे पानी डालें।
- इसके बाद, चावल को हल्के मोटे बैटर में पीसें। इसका बनावट सूजी जैसा होना चाहिए।
- दोनों बैटर को एक बड़े बर्तन में मिलाएं। उसमें नमक डालें और अपने हाथों से अच्छे से मिलाएं (यह किण्वन में मदद करता है)।
स्टेप 3: बैटर का किण्वन करना
- बैटर को ढक्कन से ढक दें, यह सुनिश्चित करते हुए कि इसे फूलने के लिए पर्याप्त जगह हो।
- बैटर को गर्म स्थान पर रखें, जैसे कि रसोई काउंटर या हल्के जलते ओवन के अंदर।
- इसे 8–12 घंटे तक किण्वित होने दें। गर्म मौसम में यह जल्दी किण्वित होता है, जबकि ठंडे मौसम में अधिक समय लग सकता है।
- किण्वित होने के बाद, बैटर को दोगुना होना चाहिए और हल्की खट्टी सुगंध आनी चाहिए। उपयोग करने से पहले इसे हल्के से हिलाएं।
स्टेप 4: डोसा बनाना
- एक कास्ट-आयरन तवा या नॉन-स्टिक पैन को मध्यम आंच पर गर्म करें। बैटर डालने से पहले सुनिश्चित करें कि तवा गर्म हो। जाँच के लिए, तवे पर कुछ पानी की बूँदें छिड़कें—अगर यह चटकता और भाप बनता है, तो तवा तैयार है।
- तवे पर हल्का सा तेल या घी लगाएं। इसे एक प्याज के टुकड़े या किचन टिश्यू से फैला दें।
- एक करछुल बैटर लें और तवे के बीच में डालें। इसे करछुल के पिछले हिस्से से गोल-गोल घुमाते हुए पतली परत में फैलाएं।
- किनारों पर तेल या घी की कुछ बूँदें डालें और इसे 2–3 मिनट तक पकने दें या जब तक किनारे आसानी से न उठ जाएं।
- कुरकुरी डोसा के लिए इसे एक तरफ से ही पकाएं। अगर आप नरम डोसा पसंद करते हैं, तो इसे पलटें और दूसरी तरफ से 30 सेकंड तक पकाएं।
- डोसे को तवे से निकालें और तुरंत परोसें। बाकी बैटर के साथ यह प्रक्रिया दोहराएं।
परोसने के सुझाव
चावल और उड़द दाल डोसा गरमा-गरम परोसने पर सबसे अच्छा लगता है:
- नारियल की चटनी
- टमाटर की चटनी
- सांभर
- घी के साथ गनपाउडर (पोडी)
एक अनोखे ट्विस्ट के लिए, आप डोसे में मसालेदार आलू का भरावन डालकर मसाला डोसा भी बना सकते हैं।
परफेक्ट डोसा के लिए टिप्स
- बैटर की स्थिरता: बैटर बहने लायक होना चाहिए लेकिन बहुत पतला नहीं। ज़रूरत पड़ने पर पानी डालें।
- किण्वन का महत्व: बैटर का सही तरीके से किण्वित होना ज़रूरी है ताकि डोसे नरम और कुरकुरे बनें। ठंडे मौसम में बैटर के पास हल्का गरम उपकरण रखें या चुटकी भर बेकिंग सोडा डालें।
- तवे की गर्मी: तवे पर समान गर्मी बनाए रखें। अगर यह बहुत गर्म हो जाए, तो इसे थोड़ा ठंडा करने के लिए पानी छिड़कें।
- नॉन-स्टिक सतह: कास्ट-आयरन तवा को पहले अच्छी तरह से सीजन करें ताकि डोसा चिपके नहीं।
चावल और उड़द दाल डोसा क्यों है हेल्दी विकल्प?
- प्रोटीन से भरपूर: उड़द दाल में पौधों पर आधारित प्रोटीन का अच्छा स्रोत है।
- पचने में आसान: किण्वन प्रक्रिया जटिल पोषक तत्वों को तोड़ देती है, जिससे इन्हें पचाना आसान हो जाता है।
- कम वसा वाला: इसमें कम से कम तेल का उपयोग इसे हल्का और स्वास्थ्यवर्धक बनाता है।
- ग्लूटेन-फ्री: ग्लूटेन असहिष्णुता वाले लोगों के लिए एकदम सही।
निष्कर्ष
घर पर डोसा बनाना पहले तो थोड़ा मुश्किल लग सकता है, लेकिन एक बार जब आप इसे बना लेते हैं, तो यह आसान लगने लगता है। ताज़े बने डोसे की खुशबू और इसे अपनी मेहनत से बनाने की संतुष्टि वाकई अनमोल होती है।
तो, अपनी आस्तीन चढ़ाइए, इस रेसिपी को फॉलो कीजिए और अपने किचन में सुनहरे, करारे डोसे बनाने की खुशी का आनंद लीजिए। अपनी डोसा बनाने की कहानी नीचे कमेंट्स में ज़रूर साझा करें—मुझे यह जानकर खुशी होगी कि आपकी डोसे कैसे बने और आपने इसमें क्या नया ट्विस्ट जोड़ा!
खुशहाल कुकिंग!
Leave a Reply