
English –
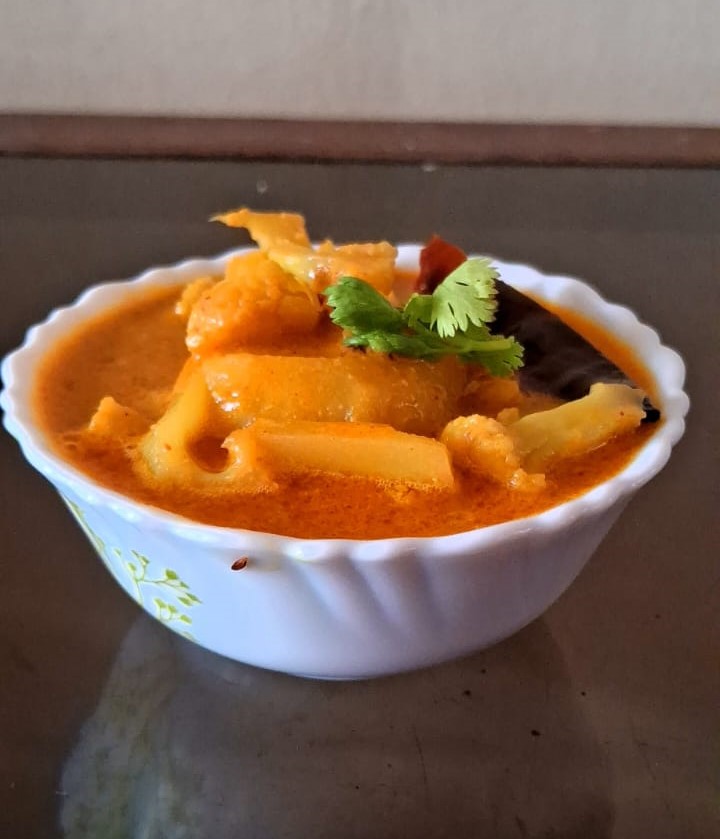
Cauliflower, or “gobhi,” is one of the most loved and versatile vegetables in Indian cuisine. Whether it’s a simple stir-fry or a hearty curry, this vegetable never fails to impress. Today, I’m sharing a recipe for a rich and flavorful Cauliflower Gravy that pairs perfectly with rice, naan, or even roti. This dish brings out the best of cauliflower’s mild, nutty flavor, enhanced by a creamy, spiced gravy that’s sure to make your taste buds dance.
Let’s dive into the recipe and learn how to make this restaurant-style dish right in your kitchen.
Why You’ll Love This Recipe
- Wholesome and Nutrient-Rich: Cauliflower is low in calories but high in fiber, vitamins, and antioxidants.
- Easy to Customize: This recipe is versatile. You can adjust the spice levels or add other vegetables to suit your taste.
- Perfect for All Occasions: Whether it’s a casual family dinner or a festive meal, cauliflower gravy fits the bill.
Ingredients
This recipe serves 3–4 people.
For the Cauliflower:
- Cauliflower (gobhi): 1 medium, cut into florets
- potato: 2 medium, cut into wedges
- Oil: 1 tablespoon (for shallow frying or roasting)
For the Gravy:
- Oil or Ghee: 2 tablespoons
- fenugreek seeds: 1 teaspoon
- Cumin Seeds: 1 teaspoon
- Ginger-Garlic Paste: 1 tablespoon
- Tomatoes: 2 medium, pureed
- Green Chilies: 1–2, finely chopped (optional)
- Cashews: 8–10, coconut-half bowl and ground into a paste
- Spices:
- Turmeric Powder: 1/2 teaspoon
- coriander and zeera powder mix: 2 teaspoon
- kashmiri red chilly powder: 2 teaspoon
- Salt: To taste
- Oil: 1 tablespoon (for shallow frying or roasting)
For Garnish:
- Fresh Coriander: 2 tablespoons, chopped
Step-by-Step Instructions
1. Prep the Cauliflower
- Bring water to a boil in a large pot, add the cauliflower florets for 2 minutes. This helps clean the cauliflower and gives them a slight head start in cooking.
- Drain the cauliflower and keep aside
- Heat 1 tablespoon oil in a pan and shallow fry or roast the cauliflower until they develop a light golden crust. Set them aside.
2. Prepare the Gravy Base
- Heat 2 tablespoons of oil or ghee in a large pan or kadhai. Add cumin seeds then fenugreek seeds and chopped green chillies. Let them sizzle for a few seconds.
- Stir and add ginger-garlic paste and cook until the raw smell disappears. stir countinously.
3. Add Tomatoes and Spices
- Pour in the tomato puree and cook until the oil starts to separate from the mixture. This indicates the masala is well-cooked.
- Add turmeric powder kashmiri , red chili powder, and coriander and zeera mix powder. Mix well and let the spices bloom in the oil for a minute.
4. Enrich the Gravy
- Lower the heat and add the cashew paste and coconut paste. Stir continuously . This step makes the gravy rich and creamy.
- Add a splash of water to adjust the consistency, depending on how thick or thin you like your gravy.
- add salt.
- Toss in the roasted cauliflower florets and gently coat them with the gravy.
5. Simmer and Finish
Cover the pan and let the cauliflower simmer in the gravy for 10 minutes, in low flame and cover the lid , allowing it to soak up the flavors.
6. Garnish and Serve
- Turn off the heat and garnish with freshly chopped coriander leaves.
- Serve hot with steamed rice, jeera rice, naan, or chapati.
Tips for the Perfect Cauliflower Gravy
- Blanching the Cauliflower: Always blanch the florets before cooking to remove any hidden dirt and reduce cooking time.
- Cashew Paste Alternative: If you don’t have cashews, use almonds
- Spice Adjustment: If you prefer a spicier dish, add more green chilies or a pinch of black pepper.
Why This Recipe Stands Out
The balance of creamy textures, bold spices, and the tender bite of cauliflower makes this gravy truly irresistible. Unlike many heavy curries, this dish feels light yet indulgent, making it perfect for both everyday meals and special occasions.
Give this cauliflower gravy a try and let it become a staple in your household. Trust me; it’s a crowd-pleaser that will earn you compliments every time.
Let me know in the comments how it turned out for you and if you made any exciting tweaks. Happy cooking!
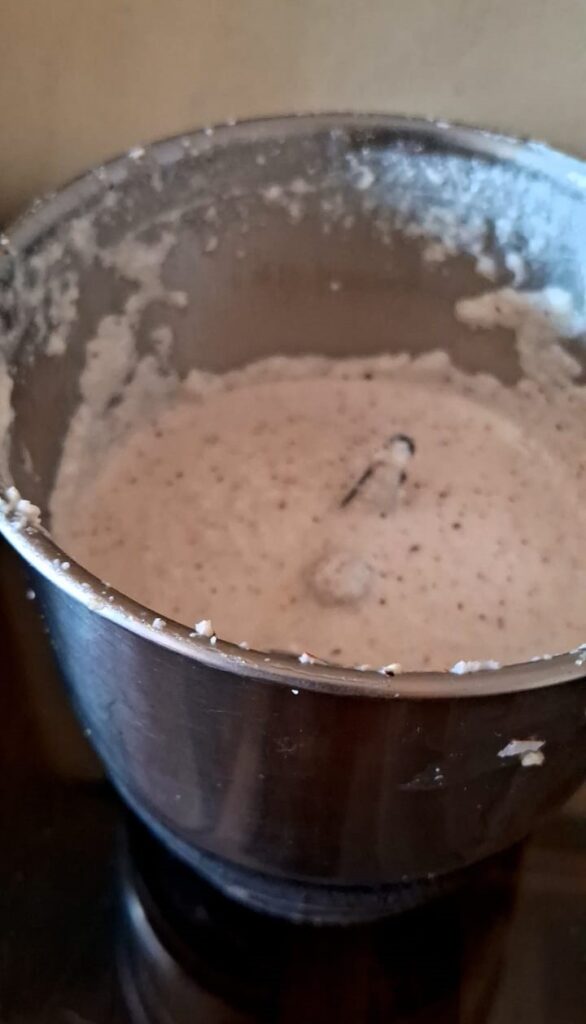
Cashew nut and coconut paste
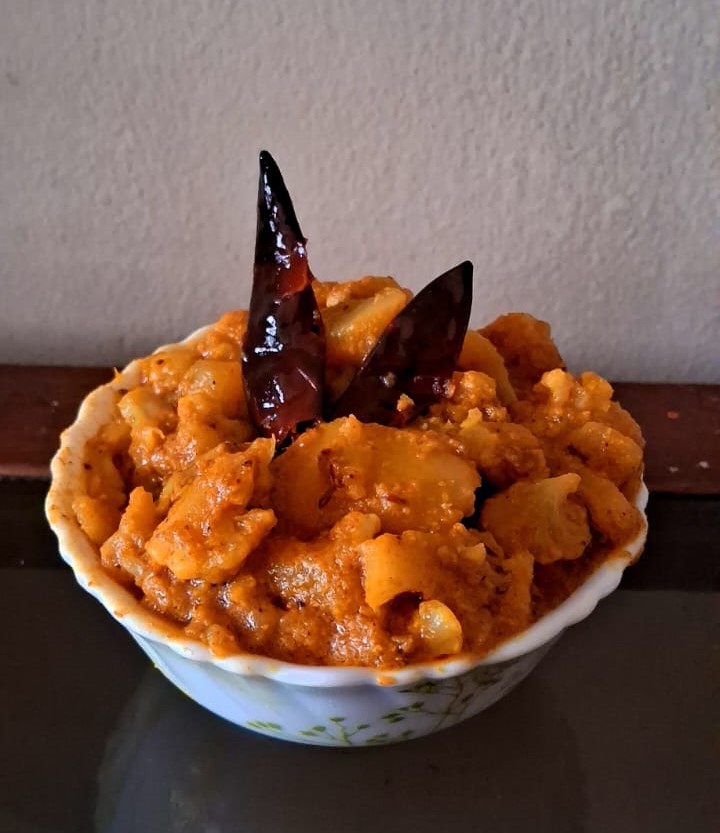
If we will continuously stir and dry the gravy then the curry will look as show below:
हिंदी –
फूलगोभी ग्रेवी: एक स्वादिष्ट और पौष्टिक डिश
फूलगोभी, जिसे हम प्यार से “गोभी” कहते हैं, भारतीय रसोई में सबसे पसंदीदा और बहुमुखी सब्जियों में से एक है। इसे हल्की सब्जी के रूप में खाएं या मसालेदार ग्रेवी में पकाएं, इसका स्वाद हमेशा दिल जीत लेता है। आज मैं आपके साथ एक ऐसी ही स्वादिष्ट और रिच फूलगोभी ग्रेवी की रेसिपी साझा कर रही हूँ, जो चावल, नान या रोटी के साथ बेहतरीन लगती है। इस डिश में फूलगोभी की हल्की, मीठी खुशबू और मसालों से भरपूर ग्रेवी का स्वाद आपकी जीभ को खुश कर देगा।
आइए इस रेस्टोरेंट-स्टाइल डिश को घर पर बनाने की विधि जानें।
क्यों है यह रेसिपी खास?
- स्वास्थ्यवर्धक और पौष्टिक: फूलगोभी में कम कैलोरी और अधिक फाइबर, विटामिन और एंटीऑक्सिडेंट्स होते हैं।
- बनाने में आसान: इस रेसिपी को अपनी पसंद के अनुसार मसालों और अन्य सब्जियों के साथ बदला जा सकता है।
- हर अवसर के लिए उपयुक्त: यह रेसिपी साधारण परिवार के खाने से लेकर त्योहारों के अवसर तक के लिए परफेक्ट है।
सामग्री
यह रेसिपी 3–4 लोगों के लिए है।
फूलगोभी और आलू के लिए:
- फूलगोभी: 1 मीडियम आकार की, टुकड़ों में कटी हुई
- आलू: 2 मीडियम, वेजेस में कटे हुए
- हल्दी पाउडर: 1/2 चम्मच
- नमक: स्वादानुसार
- तेल: 1 बड़ा चम्मच (हल्का फ्राई करने के लिए)
ग्रेवी के लिए:
- तेल या घी: 2 बड़े चम्मच
- मेथी दाने: 1 चम्मच
- जीरा: 1 चम्मच
- अदरक-लहसुन पेस्ट: 1 बड़ा चम्मच
- टमाटर: 2 मीडियम, प्यूरी बनाए हुए
- हरी मिर्च: 1–2, बारीक कटी हुई (वैकल्पिक)
- काजू: 8–10, भिगोकर पेस्ट बनाया हुआ
- नारियल: आधा कटोरी, पेस्ट के रूप में
मसाले:
- हल्दी पाउडर: 1/2 चम्मच
- धनिया और जीरा पाउडर: 2 चम्मच
- कश्मीरी लाल मिर्च पाउडर: 2 चम्मच
- नमक: स्वादानुसार
सजावट के लिए:
- ताजा हरा धनिया: 2 बड़े चम्मच, बारीक कटा हुआ
स्टेप-बाय-स्टेप विधि
1. फूलगोभी और आलू तैयार करें
- एक बड़े बर्तन में पानी उबालें। उसमें हल्दी पाउडर और नमक डालें, फिर फूलगोभी के टुकड़ों को 2 मिनट के लिए उबालें। यह फूलगोभी को साफ करता है और जल्दी पकने में मदद करता है।
- फूलगोभी को छानकर अलग रखें।
- एक पैन में 1 बड़ा चम्मच तेल गर्म करें। उसमें फूलगोभी और आलू को हल्का सुनहरा होने तक फ्राई करें। फिर इन्हें अलग रख दें।
2. ग्रेवी बेस तैयार करें
- एक गहरे पैन या कढ़ाई में 2 बड़े चम्मच तेल या घी गर्म करें। उसमें जीरा और मेथी दाने डालें। कुछ सेकंड तक उन्हें चटकने दें।
- हरी मिर्च (यदि उपयोग कर रहे हों) और अदरक-लहसुन का पेस्ट डालें। इसे तब तक भूनें जब तक कच्ची खुशबू न चली जाए।
3. मसाले और टमाटर डालें
- पैन में टमाटर की प्यूरी डालें और मध्यम आंच पर तब तक पकाएं जब तक तेल मसाले से अलग न होने लगे।
- हल्दी पाउडर, कश्मीरी लाल मिर्च पाउडर, और धनिया-जीरा पाउडर मिलाएं। मसालों को अच्छे से मिक्स करें और 1 मिनट तक पकाएं।
4. ग्रेवी को समृद्ध बनाएं
- आंच धीमी करें और उसमें काजू का पेस्ट और नारियल का पेस्ट डालें। इसे लगातार चलाते रहें ताकि ग्रेवी में गांठें न बनें।
- अपनी पसंद के अनुसार ग्रेवी की गाढ़ाई के लिए पानी डालें।
- इसमें स्वादानुसार नमक डालें।
5. सब्जियां डालें और पकाएं
- ग्रेवी में फ्राई की हुई फूलगोभी और आलू डालें। धीरे-धीरे चलाते हुए इन्हें ग्रेवी में अच्छे से मिला लें।
- पैन को ढक दें और धीमी आंच पर 10 मिनट तक पकाएं ताकि सब्जियां मसालों का स्वाद अच्छी तरह से सोख लें।
6. सजावट और परोसें
- जब सब्जियां नरम हो जाएं और ग्रेवी अच्छे से तैयार हो जाए, तो आंच बंद कर दें।
- ताजा हरा धनिया डालकर सजाएं।
- इस डिश को गरमा-गरम चावल, जीरा राइस, नान, या चपाती के साथ परोसें।
परफेक्ट फूलगोभी ग्रेवी के लिए टिप्स
- फूलगोभी को ब्लांच करना: इसे पकाने से पहले उबालने से छुपी हुई गंदगी हट जाती है और यह जल्दी पक जाती है।
- काजू पेस्ट का विकल्प: यदि आपके पास काजू नहीं हैं, तो आप बादाम का उपयोग कर सकते हैं।
- मसालों को समायोजित करें: यदि आप अधिक तीखा पसंद करते हैं, तो हरी मिर्च की मात्रा बढ़ा सकते हैं।
क्यों बनाएं यह रेसिपी?
फूलगोभी और आलू की यह ग्रेवी गाढ़े टेक्सचर, मसालों की गहराई, और सब्जियों के नरम स्वाद का अद्भुत संयोजन है। यह डिश रोजाना के खाने के लिए हल्की है लेकिन खास मौकों पर भी इसे बनाया जा सकता है।
तो फिर इंतजार किस बात का? इसे आजमाएं और अपने अनुभव को नीचे कमेंट में साझा करें। यह रेसिपी निश्चित रूप से आपके परिवार और दोस्तों के बीच हिट होगी। खुशहाल कुकिंग!
काजू और नारियल का पेस्ट
यदि हम लगातार चलाते हुए ग्रेवी को सूखाएँगे, तो करी का स्वरूप नीचे दिखाए गए अनुसार होगा:
Leave a Reply